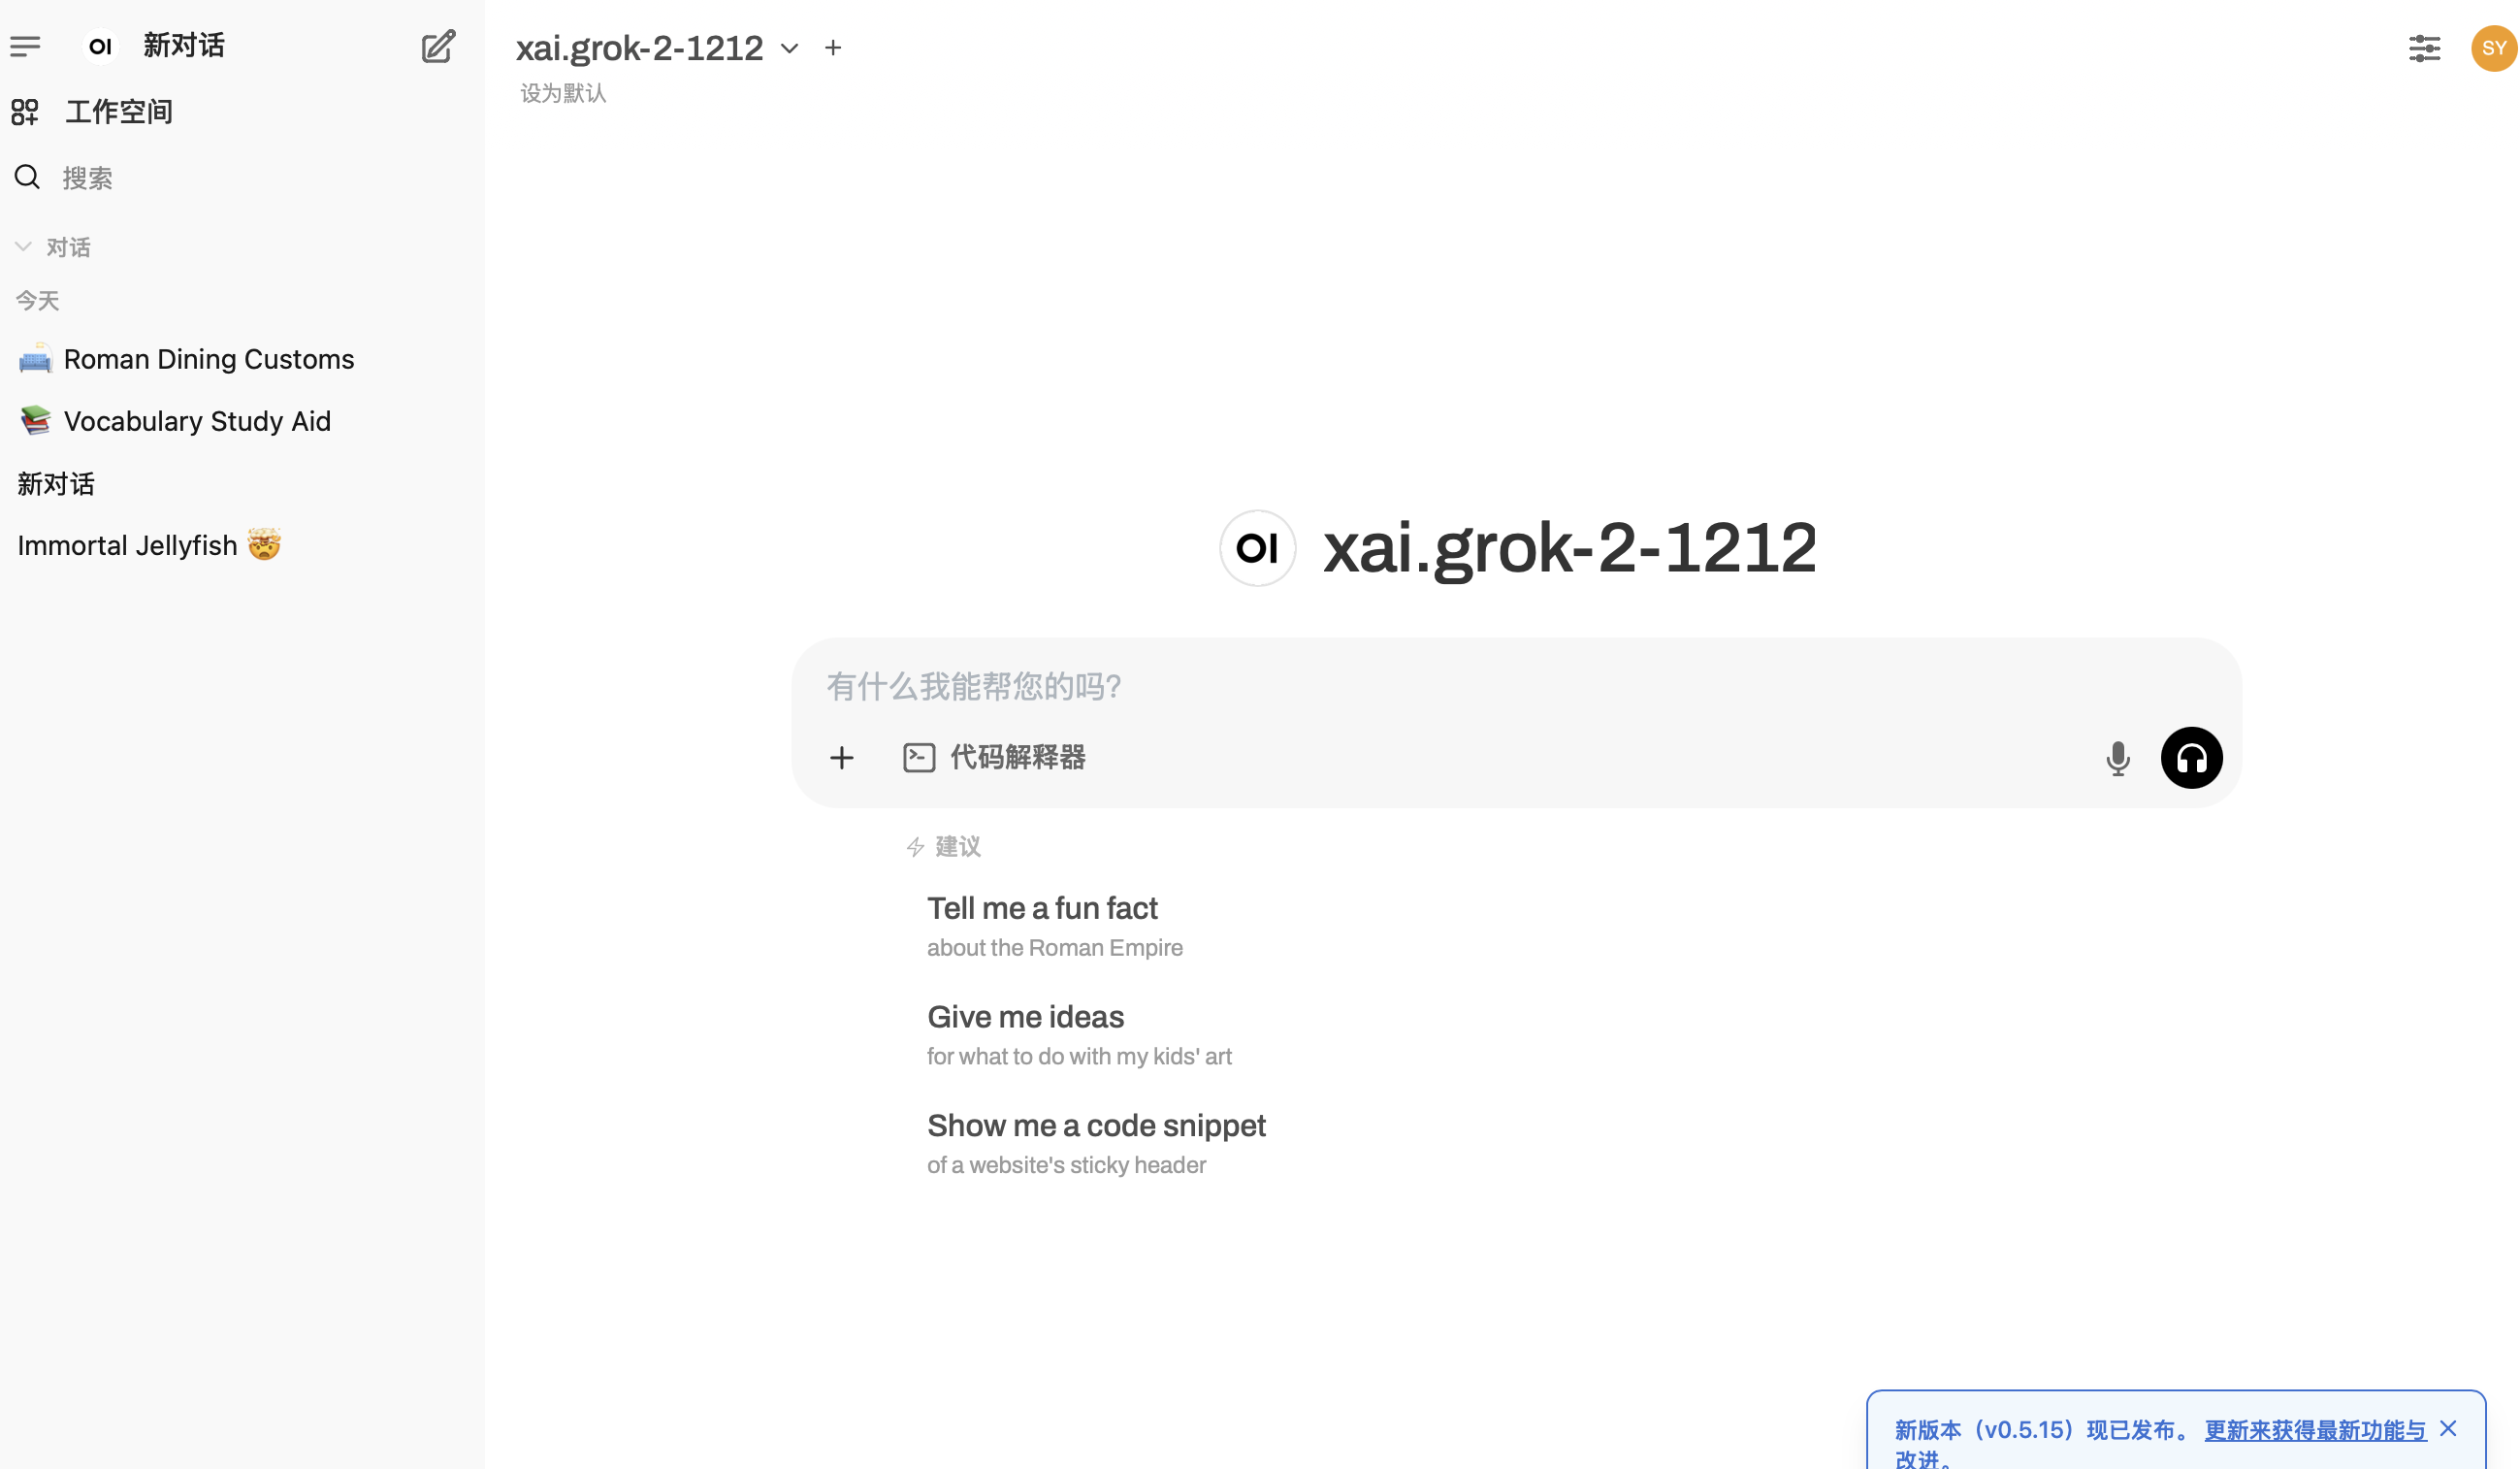
最近一直在研究如何在一个页面使用多个ai服务,最后部署了两个客户端,一个OpenWeb UI,一个LobeChat,根据部署的难度来说,还是OpenWeb UI更加容易,以下是教程
Step1: docker 拉取镜像
先安装docker,然后直接安装
1
2
| apt install docker.io
docker run -d -p 3000:8080 -v open-webui:/app/backend/data --name open-webui ghcr.io/open-webui/open-webui:main
|
等待他安装完成,期间可以使用命令查看部署进程,不是run之后就可以直接访问的!
之后访问自己的ip:3000,就可以看到界面注册管理员账号
Step2:nginx代理 + 设置证书
1. 域名 DNS记录设置 + 证书配置(可选)
首先得有自己的域名,然后:
再设置证书:
1
2
3
| sudo apt update
sudo apt install certbot python3-certbot-nginx
sudo certbot --nginx -d jamsean.top -d owi.example.com
|
2. 编辑 Nginx 配置文件
通常该文件位于 /etc/nginx/sites-available/ 目录下。
创建或编辑一个配置文件,例如 example.com:
1
| sudo nano /etc/nginx/sites-available/example.com
|
添加以下配置,我这里假设为 owi.example.com 设置代理:
1
2
3
4
5
6
7
8
9
10
11
12
13
14
15
16
17
18
19
20
21
22
23
24
25
26
27
28
29
30
31
32
33
34
35
36
37
38
39
40
| # /etc/nginx/sites-available/example.com
# HTTP 服务块:将所有 HTTP 请求重定向到 HTTPS
server {
listen 80;
server_name owi.example.com;
return 301 https://$host$request_uri;
}
# HTTPS 服务块:针对 owi.example.com,后端服务运行在 3000 端口,支持 WebSocket
server {
listen 443 ssl;
server_name owi.example.com;
# SSL 证书配置
ssl_certificate /etc/letsencrypt/live/example.com/fullchain.pem;
ssl_certificate_key /etc/letsencrypt/live/example.com/privkey.pem;
ssl_protocols TLSv1.2 TLSv1.3;
ssl_prefer_server_ciphers on;
ssl_ciphers "HIGH:!aNULL:!MD5";
# WebSocket 代理设置
location /ws/ {
proxy_pass http://127.0.0.1:3000; # 假设 WebSocket 服务在 3000 端口
proxy_http_version 1.1;
proxy_set_header Upgrade $http_upgrade;
proxy_set_header Connection 'upgrade';
proxy_set_header Host $host;
proxy_cache_bypass $http_upgrade;
}
# 普通 HTTP 请求的反向代理设置
location / {
proxy_pass http://127.0.0.1:3000;
proxy_set_header Host $host;
proxy_set_header X-Real-IP $remote_addr;
proxy_set_header X-Forwarded-For $proxy_add_x_forwarded_for;
proxy_set_header X-Forwarded-Proto $scheme;
}
}
|
3. 启用 Nginx 配置
通过创建符号链接来启用配置文件:
1
| sudo ln -s /etc/nginx/sites-available/example.com /etc/nginx/sites-enabled/
|
4. 检查 Nginx 配置是否正确
检查 Nginx 配置文件是否有语法错误:
如果没有错误,输出会显示 syntax is okay 和 test is successful。
5. 重启 Nginx 服务
重新加载 Nginx 配置,使更改生效:
1
| sudo systemctl restart nginx
|
最后效果

